How to Start a Self Build Project

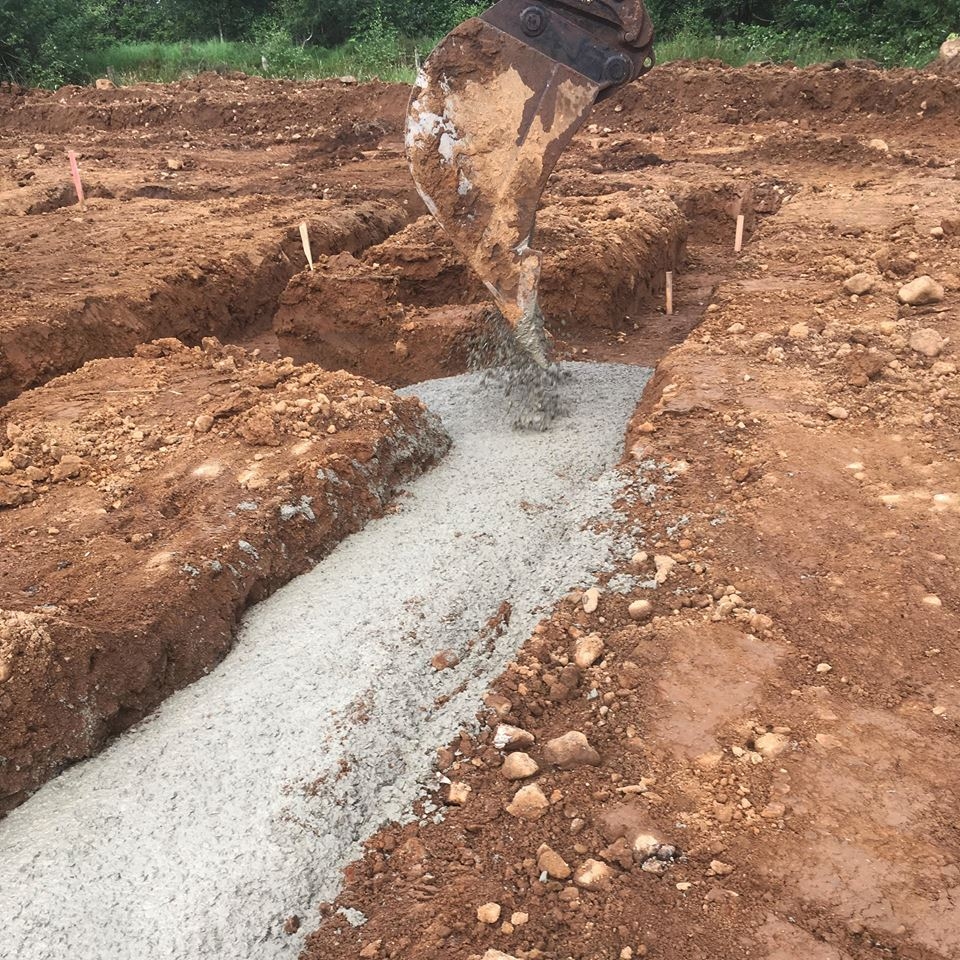
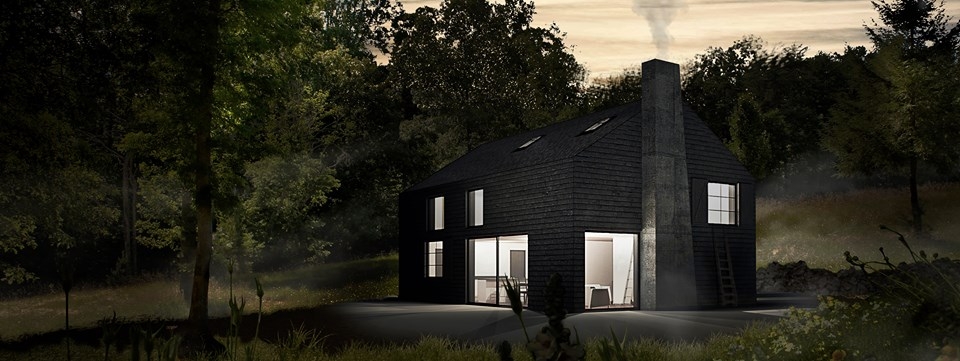
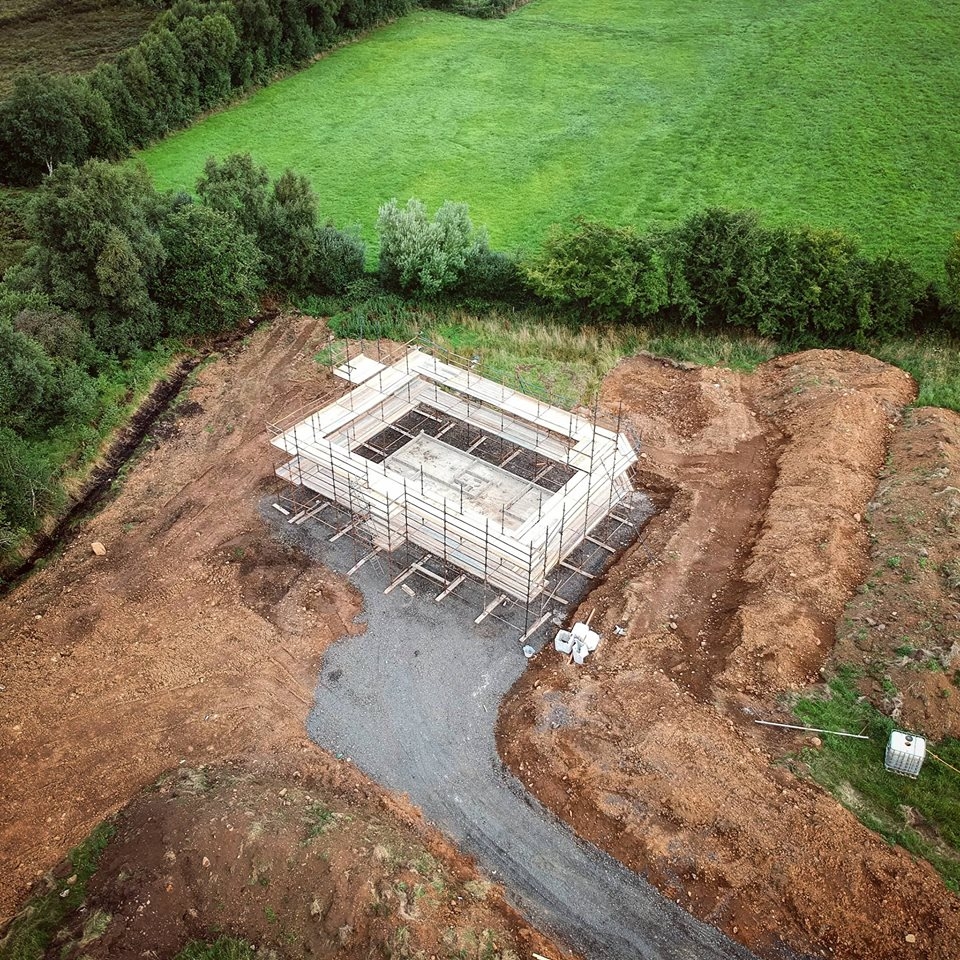
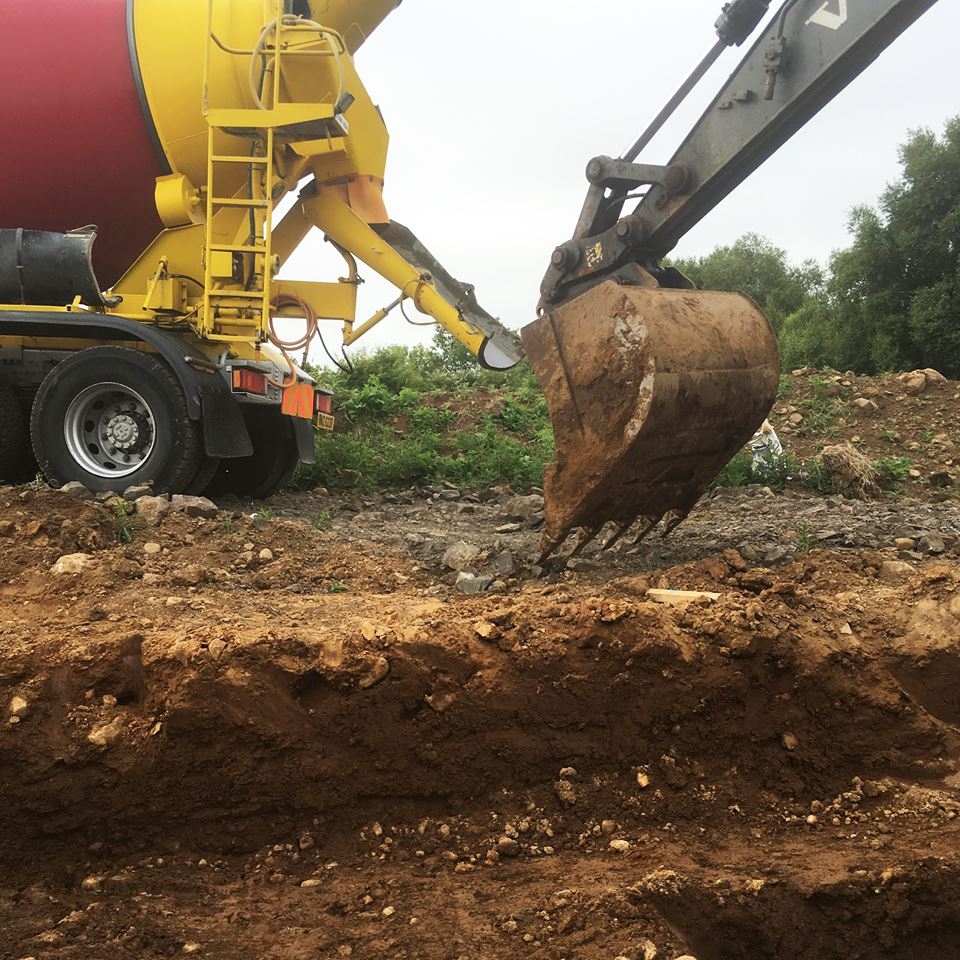
The House in the Hollow…the story so far!

Building your own home can be incredibly daunting and a lot of people aren’t familiar with the process and simply don’t know where to start.

Everyone’s situation is different and things can happen in a different order, but generally there are a number of stages that self-builders go through and checks that are best to carry out before parting with your hard earned cash.

To give you an idea of the process with how to start a self build project, there is a few of things you need to look out for, here are the 20 steps that we went through, to get to where we are today….

1. Put our House up for sale

Once we had decided to build our own home, the first step was to stick our house up for sale.

Our lack of savings meant, like most people, we had to sell our home to fund the purchase of the site…so we had a clear out, decorated where necessary and got it on the market!

2. Started looking for potential sites

So, the house was now up for sale and the search for the dream site commenced!
Unfortunately our budget pretty much ruled out any dream sites, but there were a few possibilities that caught our eye.

The issue was that the sites that were within budget, where we wanted to build, all seemed to have problems or things that would cost additional money…foundations in the wrong place, no laneway, waterlogged site or services a million miles away!

self build site stripped
Original Self build Design
self build inspection hole for percolation test

3. Agreed the sale on our house

This happened a lot quicker than we ever thought, just 7 days after we put it up for sale!

Which was fantastic in one sense, but it put real pressure on to find somewhere else to live and get a site sorted asap.

4. Found a suitable site

After exhausting all the options in the ideal locations, we started looking slightly further afield and came across a large site, with the lane up to the edge of the plot, water pipe installed and not too far away from an electric pole.
It didn’t have any great views as such, but was quite remote and surrounded by mature trees, which was ideally what we were looking for.

5. Carried out a few initial checks on the site

Before going any further there were a few things that we could check without spending too much time or going to too much expense.

First of all we checked that planning was still live on the site and also got an idea if we could change the design of the approved house without too many issues.
We confirmed with the local building control officer that the foundations had been installed prior to planning expiring, so it was all good and the approved house was a good bit bigger than we wanted, which gave us a bit of scope for change.

6. Agreed a price for the site

Once we carried out the first few checks…and visited the site around 400 times, we decided that it was the one for us.

So after a little negotiation, we agreed on a price and got everything sent to the solicitor for them to carry out all the necessary legal checks

7. Designed our Home

Thankfully the pair of us were on the same wavelength (mostly!!) with regards the house we both wanted, so this was a pretty quick stage.

We had the majority of the house designed in a couple of days, with just a few minor tweaks between initial sketches and planning.

We based the design on a simple barn shape to minimise build cost and we got everything we needed fitted into 1,600 ft², again to keep costs to a minimum.

Approved House Design
Building Site Before Start
Digger clearing site

8. Spoke to a mortgage advisor

While the solicitor was doing his thing, we approached a mortgage advisor to ensure that there were no issues with the site, that would put off the lenders.

The lender provisionally checked over both the site and proposed design, confirming that there were no obvious problems.

Unfortunately you cannot submit the full mortgage application until you receive planning approval, but at least it gave us a little piece of mind.

9. Dug test holes to check the ground condition

Ground condition is something that you can’t check without actually going out and looking at it, so a friendly digger man called out and dug a few test holes.
This was to ensure that there were no adverse conditions that would lead to excessively expensive foundations being required.

10. Carried out a percolation test and applied for Consent to Discharge

One of the most important things to consider when looking at a site, is whether there is an existing ‘Consent to Discharge’ present.

In basic terms, a Consent to Discharge is required before you can install a septic tank or treatment plant.

If there is a watercourse nearby, you can discharge into it with the correct choice of treatment plant, however if there is not one present, the tank has to drain into the soil.

The soil therefore has to have sufficient percolation that allows your tank to drain properly, so it has to be tested.

You test this by digging a hole in the ground, filling it with water and timing how long it takes to drain away.

So while the digger guy was there, we carried out the test, filled in the forms and got our application in the post.

11. Applied for the NIE connection

A major expense for any site is the electrical connection and although we knew there was an electric pole near the site, you can’t be certain if there is capacity available in the line and what the cost will be for connection.
To ensure the NIE connection wouldn’t push the overall cost of the site beyond our budget, we decided to apply for the connection quite early.
The application is free and pretty straight forward, we also found NIE quite helpful when seeking advice on how to minimise the connection cost.

12. Got a topographical survey of the site carried out

Something that crops up regularly with our projects is the inconsistency between Land Registry maps, OSNI maps and what is actually on site…and our site was no different.

We got a surveying company to carry out a GPS survey of the land and then overlaid the solicitors transfer map (used to legally transfer ownership of the land).
When we had overlaid them, the map was quite far out, from where the boundaries of the site were situated.

Laneway getting dug out
self build site stripped
Approved House Design

13. Amended the site transfer maps to match what was on site

If we had proceeded based on the existing legal maps, we would have had a lane roughly 2 feet wide, to get into our site….so things came to a halt until it could be resolved.

We had the legal maps redrafted to match the on-site boundaries and laneway and then sent it to both solicitors to be agreed.

14. Received the NIE quote

The NIE quote came back a little higher than we had hoped, but it was still within our budget, so it was full steam ahead.

15. Got the approved Consent to Discharge

Upon receipt of the NIE quote and having resolved the map issue, the last remaining box to be ticked was the Consent to Discharge.

Follow the percolation test, we were pretty confident that we would receive approval, but we didn’t want to gamble the cost of the site on it, so we held off on completing the sale until we got the paperwork in!

16. Completed on the site

With all the legal checks carried out, site investigation done and all the necessary approvals granted, we could sign on the dotted line…the site was finally ours!!!

17. Submitted the Planning Application

Now the site was ours, we could lodge our planning application to change the design of the house that was previously approved on the site.

The initial design was pulled together in a couple of days, but there were a few tweaks to make and a final decision had to be made on the finishes.

18. Waited patiently…and then compromised

Ok, so maybe patiently isn’t the correct word. Almost nightly checks on the planning website, praying for some progress, lol!

The first issue that cropped up was Transport NI requesting improved visibility standards at the entrance, so the access drawings had to be amended and sent in again for approval.

Then we heard back from the planning officer and it was a good news, bad news situation.

The good news was that they were generally happy with the overall design of the house and were happy to approve it…the bad news was, they wanted us to ditch our shuttered concrete chimney.

Now, we could have fought the decision and possibly got the original design approved, but it would have caused significant delays and there was no guarantee of success.

We decided to ditch the chimney and try and get the approval through sooner rather than later, so we changed the plans and posted them in for review.

19. Received Planning Approval

After sending in the new design, sans chimney, it wasn’t long before we heard back that planning were happy with the changes and it was being issued as an approval!!
The complete process from submission to approval took less than 2 months, which was very quick for an application in our area.

A lot of people have asked how we managed to get it approved so quickly, so here are the main reasons…

There was an existing approval on the site – A change of house type is always a lot easier than going for planning on a greenfield site.
The new house design was a lot smaller – The new design that we applied for was considerably smaller than the house that was originally approved (almost half the size), so we were minimising the visual impact that the house was going to have.
We compromised on the design – When the planning department requested changes to the design, we basically gave them what they wanted to get the approval straight away. Thankfully the element they wanted removed (the chimney) was something that our heart wasn’t set on and we weren’t even sure we could afford it, so it made our decision a bit easier. If it had been a change in the overall design or a reduction in size, it may have been a different matter, which would have delayed things considerably.

20. Applied for our mortgage

Now that we had our approval documents, we could complete the full application for our mortgage.

Generally, lenders will only lend a maximum of 75% of the final value of the house, so all the plans were sent through to be valued and a site visit arranged, so the final loan amount could be calculated.

Next step….getting on site!!!

You can follow the progress on the project on both Instagram https://www.instagram.com/thehouseinthehollow/ and Facebook https://www.facebook.com/thehouseinthehollow/, please feel free to comment with any questions and I’ll try to help in any way I can.

If you have any questions about any of the stages or have a site that you’d like me to take a look at for you, please feel free to drop me an email at g.boyd@2020architects.co.uk.